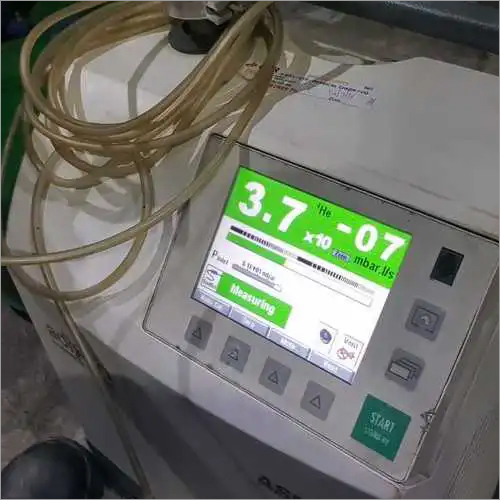
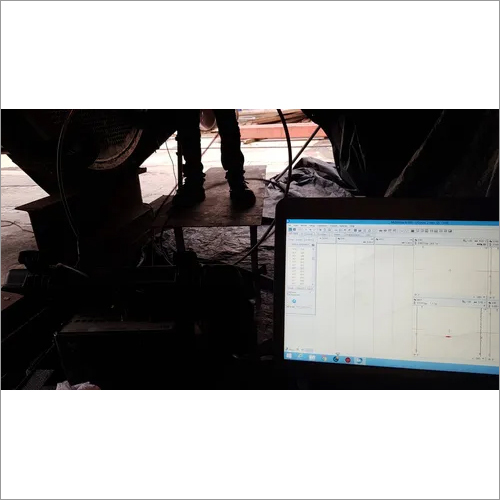
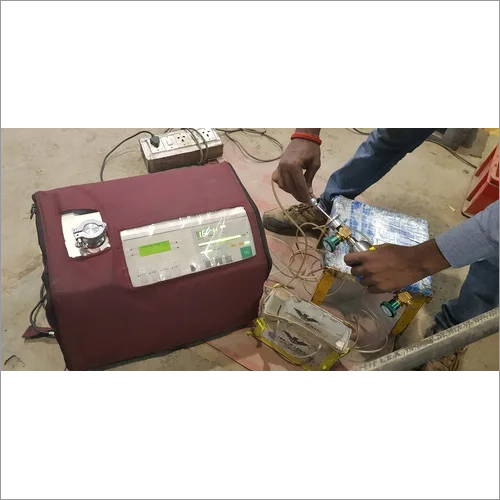
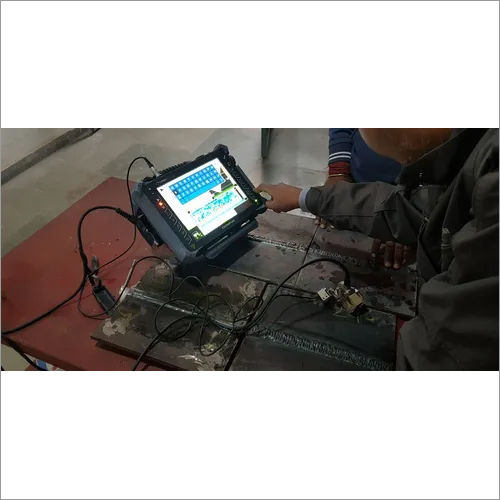
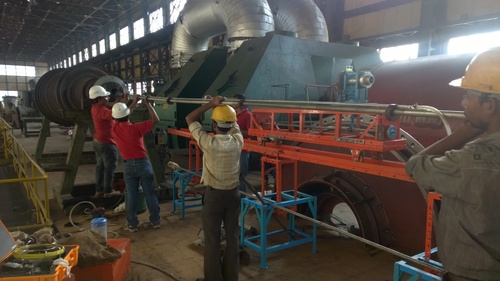
Time of Flight Diffraction
Time of Flight Diffraction Specification
- Usage & Applications
- Detection and sizing of flaws, weld inspection and corrosion mapping in metals
- Weight
- Approx. 2-3 kg
- Interface
- USB, Ethernet
- Material
- Industrial Grade Components
- Measuring Range
- 1 mm to 500 mm (depending on probe and material)
- Voltage
- 100-240V AC
- Frequency
- 50/60 Hz
- Display
- High-Resolution Colour LCD
- Power
- Rechargeable Lithium-ion Battery or Mains
- Temperature
- -10°C to 50°C (Operating)
- Driven Type
- Electric
- Size
- Portable, Handheld Unit
- Resolution
- Up to 0.01 mm flaw sizing
- Probe Compatibility
- Supports various TOFD probes
- Alarm System
- Audio and Visual Alarms for flaw detection
- Environmental Protection
- Rugged & Splash-proof Housing
- PC Software Support
- Compatible analysis software included
- Calibration
- Automated and Manual Calibration Options
- Operating Time
- 6-8 hours battery backup
- A-Scan/B-Scan Capability
- Yes
- Data Storage
- Internal memory and external USB support
- Signal Processing
- Advanced digital signal processing for high accuracy
Time of Flight Diffraction Trade Information
- Payment Terms
- Cash on Delivery (COD), Cash Against Delivery (CAD), Cash in Advance (CID), Cheque, Cash Advance (CA)
- Sample Available
- Yes
- Main Export Market(s)
- Middle East, Asia, Africa
- Main Domestic Market
- North India
About Time of Flight Diffraction
Althoughtime-of-flight diffraction can be used for a variety of applications, it isprimarily used for weld testing of circumferential and axial welded joints,also known as perpendicular TOFD scanning. Since the time of introduction ofTOFD, the use of this non destructive testing technique has steadily increased.Manual execution is possible with TOFD, however, it is most commonly performedin combination with a recording device like an encoder or/and a scanner. To achievecertain code compliance, TOFD is sometimes coupled with pulse-echo or phasedarray techniques in order to cover the root and cap regions of the weld.
Product details
| Test Location | Onsite |
| Usage/Application | Mechanical Engineering |
| Certification Scheme | Employer Based Certification |
| Components Of Testing | Butt Welding Joints |
| Type Of Material | Non-Destructive |
| Application Type | Mechanical Engineering |
| Testing Methodology | Ultrasonic Testing |
| Place Of Testing | Field |
| Testing Type | Welding Test |
| Service Type | New Construction and Inspection |
Versatile Probe Compatibility
Designed to work seamlessly with a variety of TOFD probes, this device offers flexibility for different testing requirements. It adapts easily to changes in application or inspection procedures, accommodating a broad spectrum of industrial needs and ensuring precise results every time.
Advanced Signal Processing
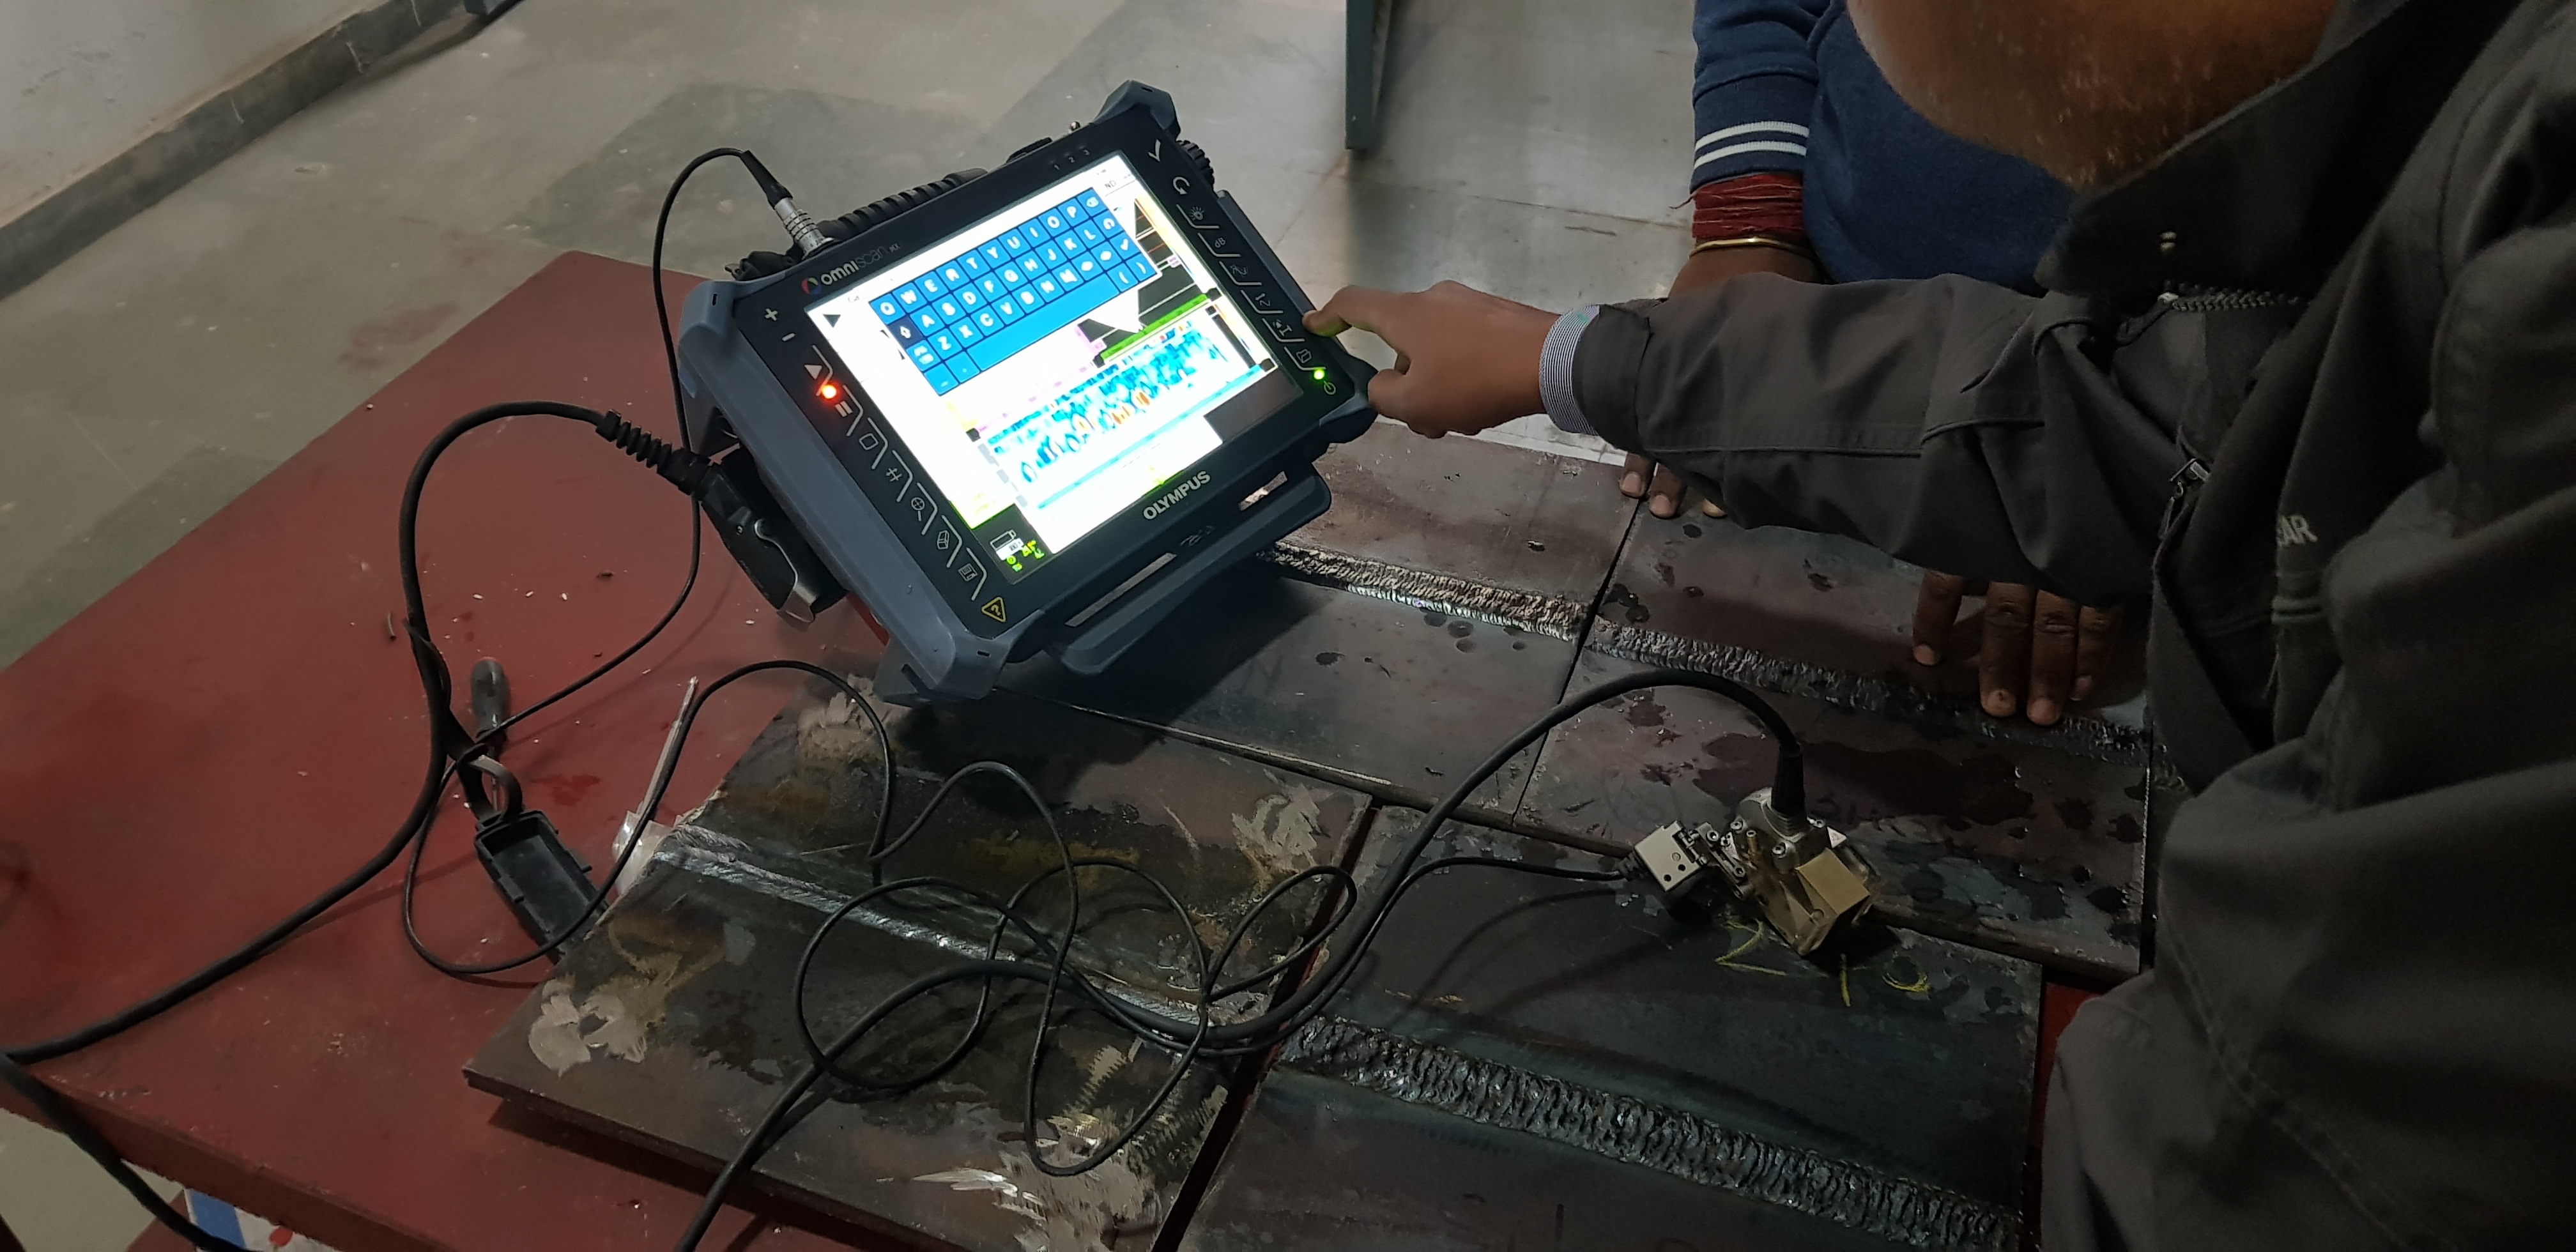
The instrument employs cutting-edge digital signal processing technology for superior accuracy in flaw sizing and detection. With capabilities such as A-Scan and B-Scan imaging, users benefit from highly dependable and detailed assessments, greatly facilitating complex weld inspections and corrosion mapping.
Efficient Data Management and Connectivity
Built-in internal memory coupled with external USB and Ethernet interfaces makes data storage, retrieval, and transfer simple and secure. Combined with robust analysis software for PCs, data interpretation and reporting become streamlinedenabling confident decision-making.
FAQs of Time of Flight Diffraction:
Q: How does the TOFD device enhance flaw detection accuracy?
A: The instrument uses advanced digital signal processing with up to 0.01 mm resolution for precise flaw sizing. Both automated and manual calibration options help maintain accuracy across a wide range of inspection scenarios.Q: What types of probes are compatible with this TOFD instrument?
A: The device supports various TOFD probes, making it adaptable for different testing needs such as weld inspections and corrosion mapping in several types of metals.Q: When and where can this TOFD system be effectively utilized?
A: This portable, handheld device is suitable for use in industrial settings throughout Indiaespecially for onsite weld inspection, flaw detection, and corrosion mapping on metallic structures.Q: What is the process for storing and transferring inspection data?
A: Inspection data is stored in the devices internal memory or on external USB drives. For further analysis, data can be easily transferred to PCs via USB or Ethernet and reviewed using included compatible software.Q: How does the rugged design benefit users in challenging environments?
A: The splash-proof, industrial-grade housing ensures the instrument withstands harsh conditions and temperature ranges from -10C to 50C, providing reliability and durability in demanding workplaces.Q: What are the operating time and power options for the TOFD instrument?
A: The device offers a battery backup of 6-8 hours on a rechargeable lithium-ion battery and can also be powered via mains (100240V AC), ensuring uninterrupted operations.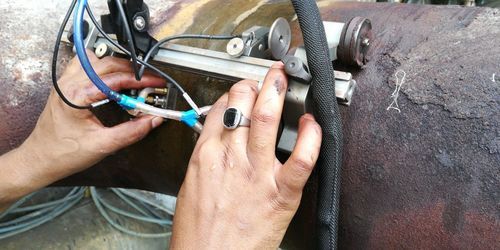
- Main Domestic Market
- North India
- Main Export Market(s)
- Middle East, Asia, Africa

Price:
- 50
- 100
- 200
- 250
- 500
- 1000+
More Products in Advanced Non Destructive Testing Category
Helium Leak Testing
Temperature : Operating range: 0°C to 50°C
Usage & Applications : Vacuum Systems, Automotive, Aerospace, Pharmaceutical, Power Plant Equipment, Sealed Components Testing
Power : 150300 W depending on model
Driven Type : Electric
Display : Digital LCD/LED
Frequency : 50/60 Hz
Eddy Current Testing of Heat Exchanger Tubes (ECT)
Temperature : Operating range: 0°C to 50°C
Usage & Applications : Detection of defects, cracks, corrosion, and wall thinning in heat exchanger and condenser tubes in various industries such as power plants, refineries, petrochemical, and HVAC plants
Power : Max 100 W
Driven Type : Electrically operated
Display : LCD/LED digital display
Frequency : 10 Hz to 10 MHz adjustable
Borescopic Inspection Services
Temperature : Operating range from 10°C to 60°C (probe dependent)
Usage & Applications : Internal visual inspection of inaccessible areas in pipelines, turbines, engines, vessels, welds, and structural cavities across industry sectors such as Oil & Gas, Aviation, Power, and Manufacturing.
Power : Rechargeable battery or mains powered supply
Driven Type : Manual articulated or motorized control depending on probe type
Display : Highresolution LCD, LED or TFT digital display
Frequency : 50 Hz/60 Hz power compatible
Online Condenser Helium Leak Testing
Temperature : Operating range: 10°C to 50°C
Usage & Applications : For detecting and measuring leaks in online condenser systems using helium as tracer gas
Power : 1.5–2 kW
Driven Type : Electric
Display : Digital LCD/LED Display
Frequency : 50/60 Hz
 |
INSPECTION & TESTING ENGINEERS
All Rights Reserved.(Terms of Use) Developed and Managed by Infocom Network Private Limited. |
 English
 Spanish
 French
 German
 Italian
 Chinese (Simplified)
 Japanese
 Korean
 Arabic
 Portuguese