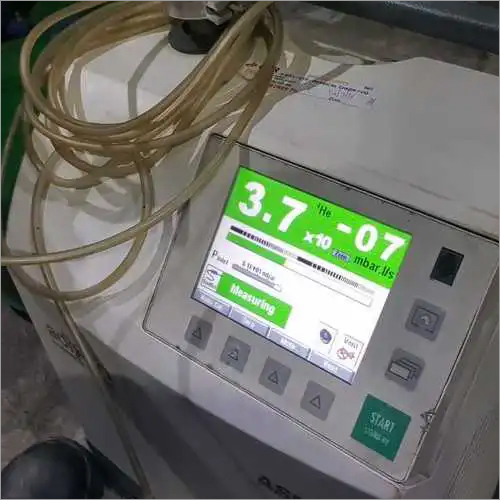
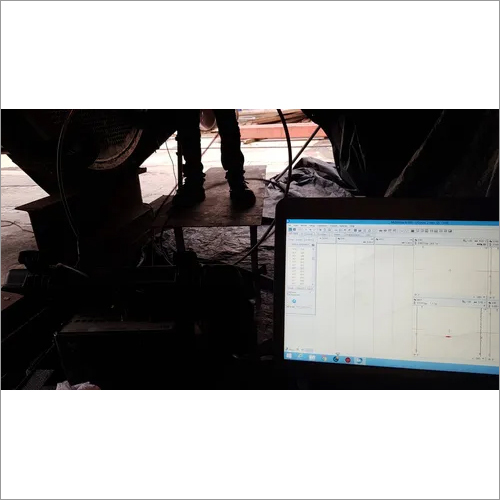
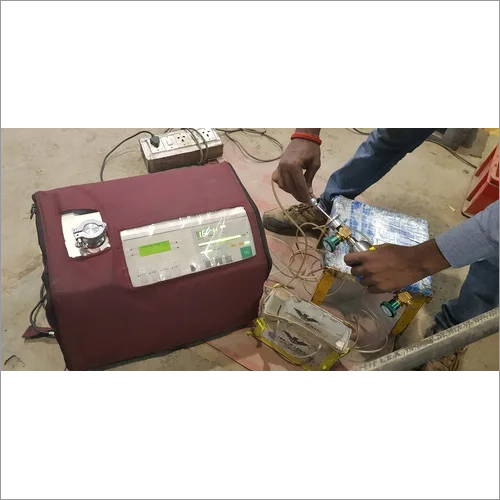
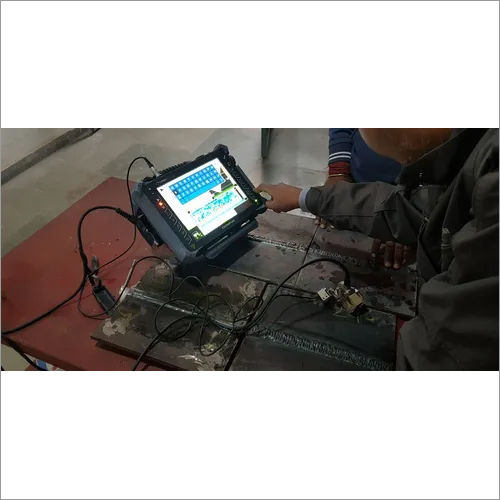
Visual Testing
Visual Testing Specification
- Interface
- Digital display
- Driven Type
- Electric
- Display
- LCD/LED
- Measuring Range
- Up to 100 mm (depth)
- Usage & Applications
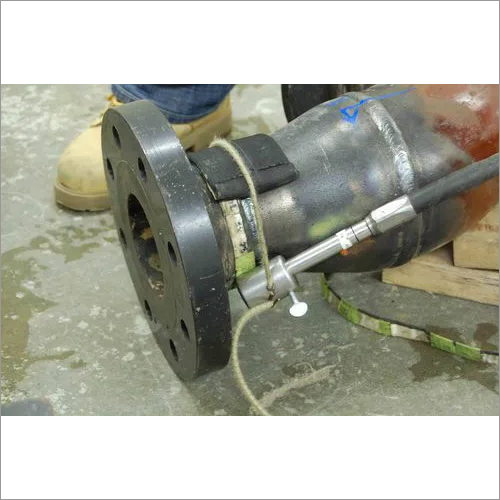
- Weld inspection, surface flaw detection, quality control
- Frequency
- 50 Hz
- Temperature
- 0 to 50C
- Power
- 20W
- Size
- Portable / Handheld
- Weight
- 1.5 kg
- Voltage
- 220V AC
- Material
- mild steel
- Calibration
- Factory Pre-calibrated with User Adjustment Option
- Resolution
- High Clarity Optics for Microscopic Details
- Protection Class
- IP54 Dust and Water Resistant
- Lighting
- Integrated LED Illumination
- Magnification
- Up to 20x Optical Zoom
- Storage
- Internal Memory for Inspection Records
- Compliance
- Meets International NDT Standards (ISO, ASTM)
- Operation Time
- Up to 12 hours continuous use (Battery mode)
Visual Testing Trade Information
- Payment Terms
- Cash on Delivery (COD), Cash Against Delivery (CAD), Cash in Advance (CID), Cheque, Cash Advance (CA)
- Main Domestic Market
- North India
About Visual Testing
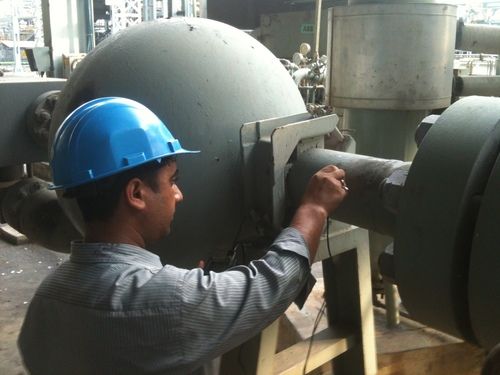
Visual inspection is the most widely used among all Non Destructive Tests. It is simple, easy to apply, quickly carried out, and usually low in cost. Even though a component is to be inspected using other NDT methods, a good visual inspection should be carried out first. A simple visual test can reveal gross surface defects thus leading to an immediate rejection of the component and consequently saving much time and money, which would otherwise be spent on more complicated means of testing. It is often necessary to examine for the presence of finer defects. For this purpose, visual methods have been developed to a very high degree of precision. With the advent of microprocessor and computers, visual examination can be carried out very reliably and with minimum cost. Image processing patterns recognition and automatic accept/reject choices are used when large numbers of components are to be assessed.
The basic procedure used in visual NDT involves illumination of the test specimen with light, usually in visible region. The specimen is then examined with eye or by light sensitive devices such as photocells. The equipment required for visual inspection is extremely simple, but adequate illumination is absolutely essential. The surface of the specimen should be adequately cleaned before being inspected.
High-Resolution Optical Performance
Achieve unparalleled inspection accuracy with our devices high clarity optics and up to 20x optical zoom. The integrated LED illumination ensures optimal visibility, even when examining challenging or minute features. This makes it especially effective for detecting fine weld flaws and subtle surface defects, enhancing quality assurance across various industrial applications.
Rugged and Portable Design for Field Use
Built from robust mild steel and rated IP54 for dust and water resistance, the device is engineered for demanding environments. Weighing just 1.5 kg, it is easy to carry and operate in the field. The 12-hour battery life supports lengthy inspection tasks, while the intuitive LCD/LED interface ensures user-friendly operation.
Comprehensive Data Management and Compliance
Record and store all inspection data directly with the devices internal memory. Enjoy seamless data review and retrieval thanks to the digital display and straightforward user interface. Compliant with ISO and ASTM NDT standards, this device guarantees reliable measurements suitable for audits, certifications, and quality documentation.
FAQs of Visual Testing:
Q: How does the integrated LED illumination enhance visual inspections?
A: The integrated LED illumination provides consistent and bright lighting for the inspection area, enabling clearer visualization of microscopic details and detecting flaws that might remain unnoticed under ambient light conditions. This ensures precise analysis and high-quality results, even in poorly lit or challenging environments.Q: What types of applications is this device best suited for?
A: This device is specially engineered for weld inspection, surface flaw detection, and quality control tasks across industries. Its high magnification optics and durable build make it ideal for both routine and critical inspections in fabrication plants, field sites, and maintenance workshops.Q: When should I consider recalibrating the device?
A: The device comes factory pre-calibrated to ensure out-of-the-box accuracy. However, users can perform recalibration if measurement discrepancies are observed or as part of routine maintenance schedules required by specific operation protocols or compliance audits.Q: Where can the device be effectively operated?
A: Thanks to its IP54 protection class and design for portability, the device can be used both indoors and outdoors, including in dusty, damp, or industrial environments. It operates efficiently within a temperature range of 0 to 50C, supporting inspections across varied settings.Q: What is the process for storing inspection records?
A: After each inspection, measurement data and images are automatically saved to the devices internal memory. Users can retrieve and review these records directly via the digital display, enabling streamlined documentation and traceability for audits or further analysis.Q: How does using this device benefit inspection workflows?
A: Employing this device significantly enhances inspection accuracy, speeds up the quality control process, and ensures documentation integrity. Its portability, user-friendly controls, and compliance with international standards make it a valuable tool for service providers seeking efficient and reliable results.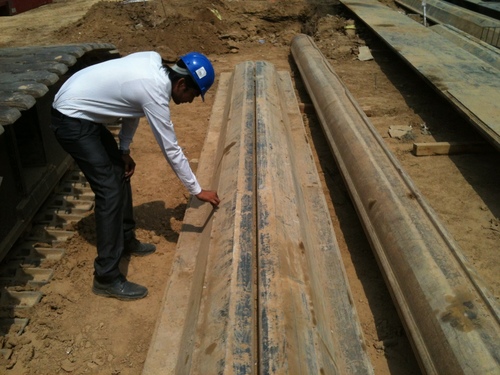

- Main Domestic Market
- North India

Price:
- 50
- 100
- 200
- 250
- 500
- 1000+
More Products in Non Destructive Testing Category
Positive Material Identification
Display : Digital LCD Touch Screen
Power : LiIon Battery
Size : Handheld
Frequency : 50/60 Hz
Interface : USB / Bluetooth
Temperature : 0C to +50C
Ultrasonic Thickness Measurement
Display : 4digit LCD
Power : 3V (2 x AA batteries)
Size : 150 mm x 74 mm x 32 mm
Frequency : 5 MHz
Interface : Userfriendly keypad with LCD display
Temperature : 10C to 60C (operating)
Insitu Hardness Testing Services
Display : Digital LCD Display
Power : Battery Powered
Size : Portable
Frequency : 50 Hertz (Hz)
Interface : Digital
Temperature : 050 Degree Celsius
Radiography Testing
Display : Digital Display
Power : 50 Watt (w)
Size : Customizable
Frequency : 50 Hertz (HZ)
Interface : Digital Interface
Temperature : 0 to 50 Degree Celsius
 |
INSPECTION & TESTING ENGINEERS
All Rights Reserved.(Terms of Use) Developed and Managed by Infocom Network Private Limited. |
 English
 Spanish
 French
 German
 Italian
 Chinese (Simplified)
 Japanese
 Korean
 Arabic
 Portuguese